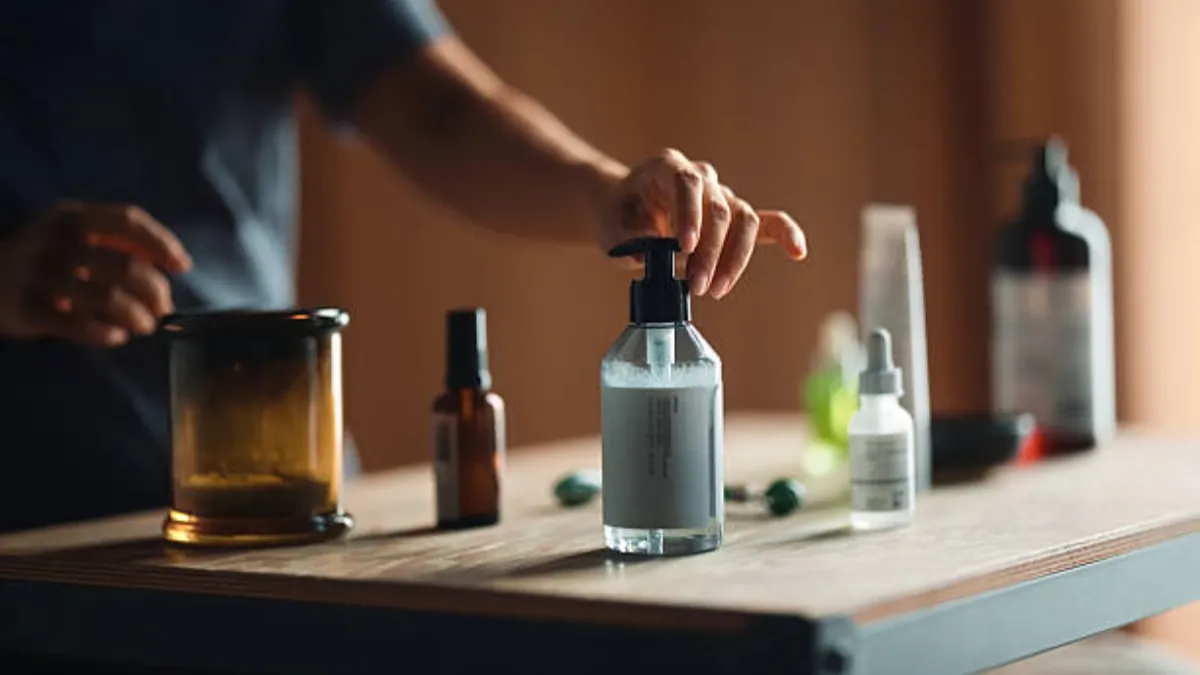
Understanding how to sanitize and how to sterilize glass jars for cosmetics is critical, but preventing breakage from thermal shock is what protects your batch. Improper heating creates internal stress that shatters low-grade glass, costing small brands their entire inventory and damaging their reputation.
This guide details correct methods for home and industrial scales. We explain the physics of thermal shock and show how material integrity, starting with impurity-free High Flint Glass, provides a stable foundation that survives sterilization and protects your product—especially when you need to decide how do you sterilize glass bottles safely and consistently.
Cleaning vs. Sanitizing vs. Sterilizing
Cleaning removes dirt, sanitizing reduces bacteria to safe levels, and sterilizing eliminates all microbial life. Each step provides a higher level of decontamination for cosmetic packaging and is directly relevant when you plan how to sterilize canning jars and lids or cosmetic bottles before filling.
Defining the Three Levels of Decontamination
These terms are not interchangeable. They represent a clear hierarchy of microbial control, and understanding the difference is fundamental to ensuring product safety in the cosmetic industry and answering how often should you sterilize bottles in regular production.
- Cleaning: This is the first and most basic step. It involves the physical removal of visible dirt, oils, and other residues from a surface, usually with soap and water. Cleaning is a prerequisite for effective sanitizing or sterilizing.
- Sanitizing: This is the next level up. Sanitizing reduces the number of microorganisms on a surface to a level considered safe by public health standards. It doesn’t kill everything, but it lowers the germ count significantly.
- Sterilizing: This is the highest level of decontamination. Sterilization is a process that destroys or eliminates all forms of microbial life, including bacteria, viruses, fungi, and tough-to-kill bacterial spores.
3 Common Methods to Sanitize Glass Jars at Home (For DIY & Samples)
The most common home methods are boiling for high effectiveness, oven heating for dry projects, and the dishwasher for convenience. Each has clear trade-offs in time and application and can be adapted when you explore how to sterilize glass jars for cosmetics on a small, home or studio scale.
When preparing glass jars for DIY projects or small-batch product samples, proper sanitation is the critical first step after cleaning. It reduces microorganisms to a safe level, ensuring your contents aren’t compromised from the start. Below are three standard methods that work well in a home or small workshop setting, without requiring industrial equipment.
Boiling Water Method
This is the gold standard for home sanitization, especially for anything related to food. The process is straightforward: place your clean jars and lids into a large pot, cover them completely with water, and bring it to a rolling boil. Keep them boiling for at least 10 minutes. Use tongs to carefully remove the jars and let them air-dry on a clean towel.
Its main advantage is effectiveness. Boiling is a proven way to kill most bacteria and is the go-to method for canning. The downside is that it’s time-consuming and requires you to handle very hot water and glass, which can be a safety issue if you’re not careful. This method is best for any project requiring a high degree of sanitation, like homemade preserves or cosmetic samples.
Oven Heating Method
The oven provides a dry-heat alternative. First, wash and dry your jars. Then, place them upside down on a clean baking sheet in a preheated oven, typically set around 135-150°C (275-300°F). Heat them for about 15-20 minutes. It’s best to let them cool down inside the oven to avoid thermal shock from a sudden temperature change, which can cause cracks.
This method is great because it leaves the jars completely dry with no water spots. It’s a solid choice for things like homemade candles, dry herbs, or non-liquid cosmetic powders. Be aware that this is not suitable for any plastic lids or components, and the glass will remain extremely hot for a long time after you turn the oven off.
Dishwasher High-Heat Cycle
For convenience, nothing beats the dishwasher. Place your clean jars upside down on the top rack and run them through a cycle using the high-heat or “sanitize” setting. The combination of hot water and a heated dry cycle does the job for many applications and offers a convenient baseline before deciding how often should you sterilize bottles more intensively in a cosmetic workflow. Don’t use detergent for this sanitizing run, as any residue can affect the contents you add later.
This approach requires the least amount of active work. But its effectiveness is entirely dependent on your machine’s settings reaching a high enough temperature. It’s sufficient for general use and routine sanitation of jars you use regularly, but for projects requiring true sterilization (like low-acid canning), you should still follow up with the boiling method.
Why Do Glass Jars Break During Sterilization? (The Science of Thermal Shock)
Glass jars break from thermal shock. Sudden temperature changes cause uneven expansion, creating internal stress that exceeds the glass’s structural limit and forces it to crack.
The Mechanism of Thermal Shock in Glass
When you plunge a glass jar into boiling water, the outer surface heats up and expands instantly. The inside, however, remains cooler and expands much slower. This difference creates a powerful tension between the inner and outer layers of the glass.
Glass is a brittle material. Unlike metal that can bend or plastic that can flex, glass has very little give. When the internal stress from uneven expansion becomes too great for its structure to handle, the material fails and shatters.
This failure often happens around the base of the jar. The transition from the flat bottom to the vertical sides usually involves changes in glass thickness. These thicker areas heat and cool at different rates from the thinner walls, concentrating stress and creating a predictable fracture point.
How Material Purity Reduces Breakage Risk
Not all glass is created equal. The jar’s resilience to thermal shock begins with the quality of its raw materials. Using top-tier quartz sand results in glass that is fundamentally cleaner, with virtually no impurities or microscopic air bubbles.
Each one of those tiny defects acts as a weak point where stress can concentrate. When the jar is heated or cooled rapidly, these are the exact spots where a crack is likely to start. By producing impurity-free glass, you eliminate these built-in failure points.
Precision in the manufacturing process also plays a key role. Advanced molding techniques create jars with highly uniform wall thickness. This consistency allows thermal stress to be distributed evenly across the entire surface, rather than building up in one vulnerable area. Better materials and better molding directly lead to a stronger jar that can withstand the sterilization process.
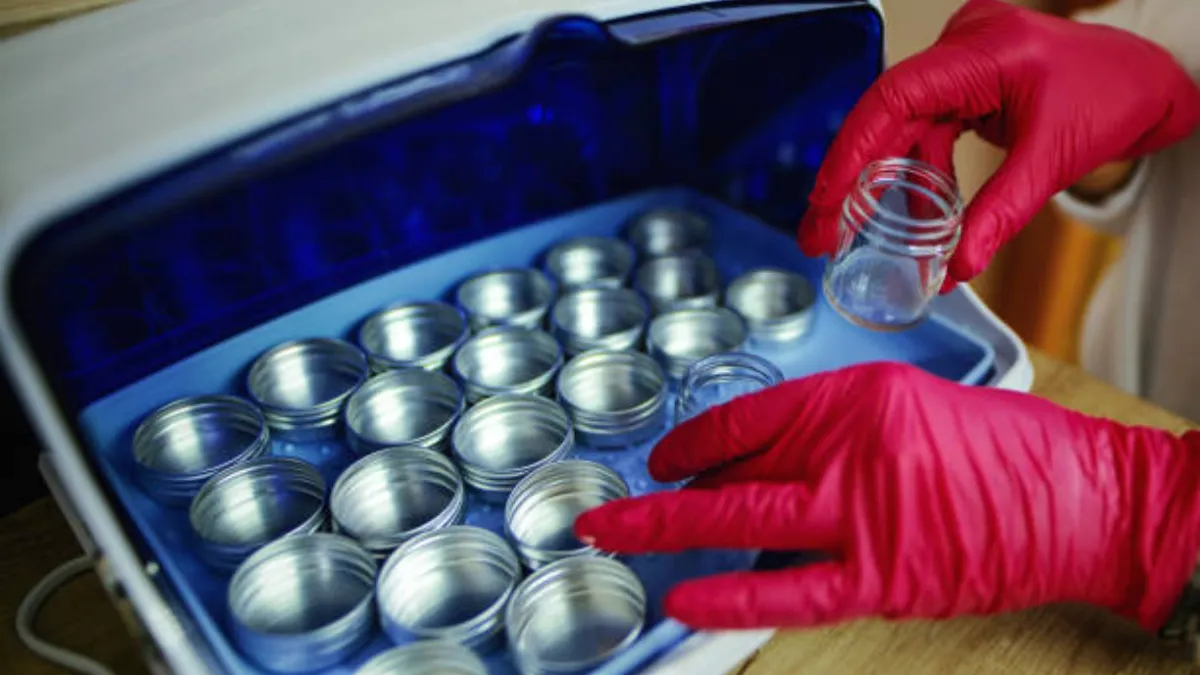
How to Sanitize Glass Packaging for a Cosmetic Business?
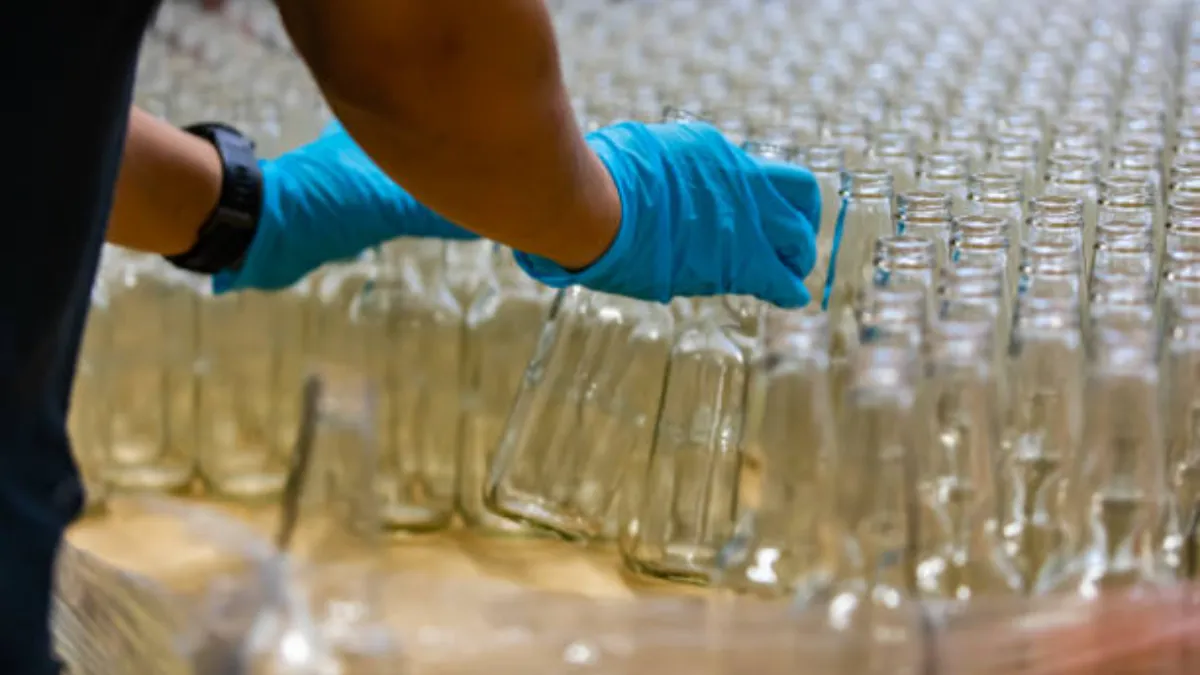
Industrial-scale sanitization uses methods like dry heat or gamma irradiation. Success depends on container design, especially precision necks engineered for automated lines and quality assurance systems.
When you move from small batches to full-scale production, sanitizing glass packaging is no longer about boiling jars on a stovetop. It becomes an engineering and quality control discipline. The methods used are far more advanced, and the design of the glass itself becomes a critical factor for compatibility with high-speed, automated lines.
This process isn’t just about cleaning; it’s about delivering a sterile, safe, and stable product that meets regulatory standards. Let’s break down the core methods and the design considerations that make it possible.
| Sterilization Method | Mechanism | Best Use Case |
|---|---|---|
| Dry Heat Sterilization | High heat (160°C–180°C) | Anhydrous (oil-based) formulas and heat-stable containers. |
| Gamma Irradiation | Cobalt-60 radiation | Heat-sensitive products; penetrates sealed packaging. |
| Depyrogenation Tunnels | High-purity water wash + high heat | High-volume lines needing particulate and pyrogen removal. |
Industrial Sterilization Methods and Quality Assurance
Professional cosmetic production relies on validated sterilization techniques backed by a robust quality control infrastructure. You can’t just assume containers are clean, you have to prove it with process and documentation.
- Core Methods: The choice of sterilization depends entirely on the product formula. Dry heat is common for non-aqueous products. Gamma irradiation works for heat-sensitive materials. Autoclaves use pressurized steam, a standard for many applications.
- Automated Systems: High-volume manufacturing uses automated washing and depyrogenation tunnels. These systems blast containers with high-purity water and then pass them through high-heat zones to destroy pyrogens—contaminants that can cause fever.
- Quality Control: This is non-negotiable. Operations must happen in cleanroom environments to prevent recontamination. Every batch requires complete records, including sterilization certifications, to ensure full traceability from raw glass to finished product.
Designing Glassware for Automated Sanitization
You can’t use just any glass jar in an automated system. The packaging itself must be engineered for the process. If a bottleneck is off by a fraction of a millimeter, it can jam a multi-million-dollar filling line.
- Precision Neck Engineering: We engineer our bottle necks with minimal tolerance control. This precision is essential for automated machinery to grip, wash, sterilize, and fill containers without interruption or spillage.
- Material Stability: The glass must withstand intense thermal stress. We use high-purity glass made from top-tier quartz sand. This ensures the containers endure high-heat sterilization methods without developing micro-fractures or other defects.
- Automated Optical Inspection (AOI): Before any sterilization begins, every single container runs through our AOI machine vision systems. This process identifies and rejects any unit with imperfections, ensuring only flawless glass enters the sterilization phase. It’s a key part of our 100% full-process QC.
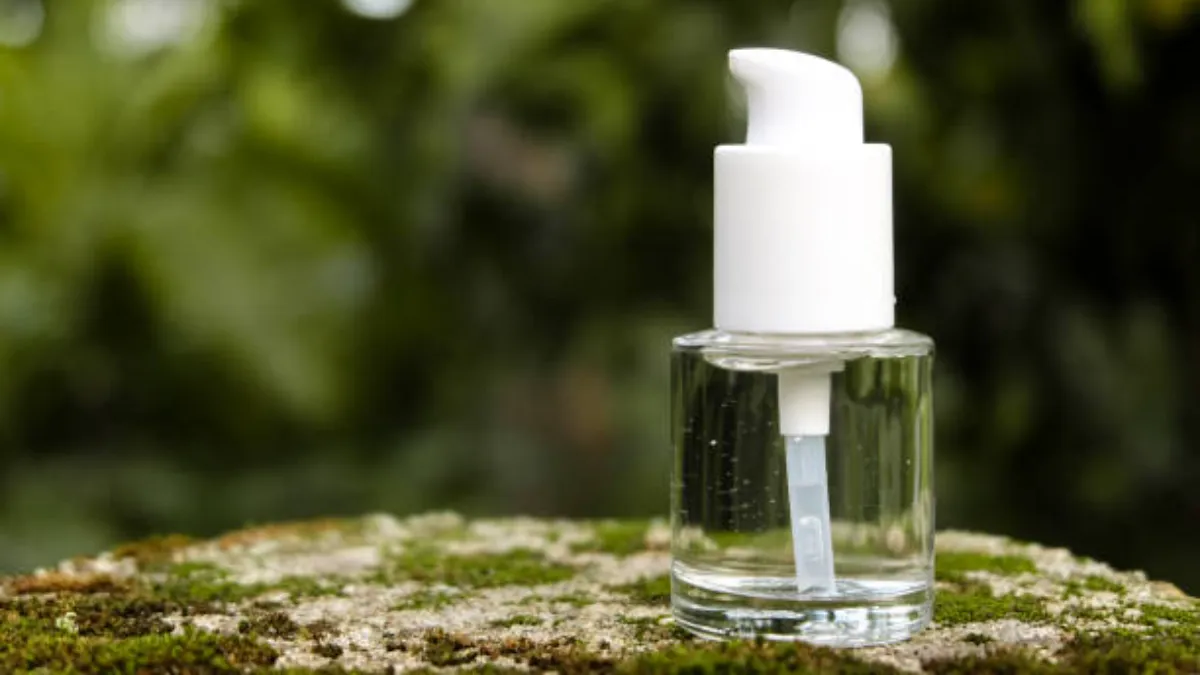
How Material Quality Provides a Safe Foundation
Any decontamination process is only as good as the material you start with. A high-quality glass container creates a much more reliable foundation for safety and makes every subsequent cleaning or sterilizing step more effective.
It starts in a controlled environment. We manufacture our glass bottles under strict ISO 9001 certified systems, which ensures they are produced in a clean, consistent setting from the very beginning. This minimizes initial contaminants before the packaging ever reaches you.
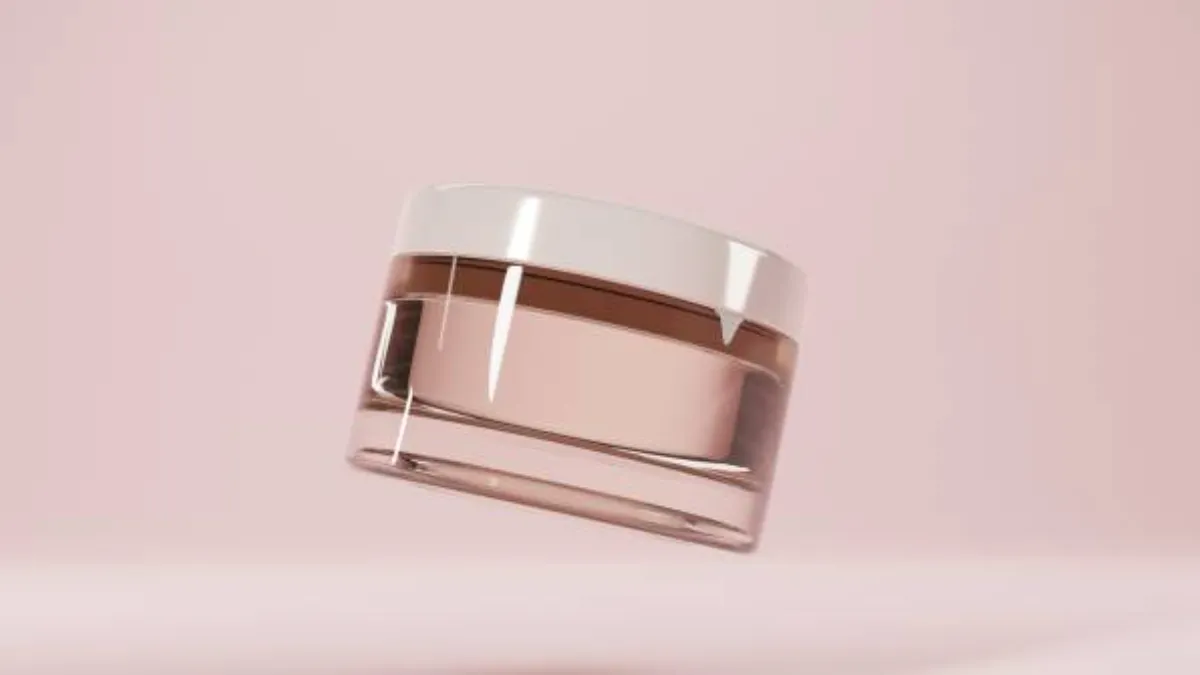
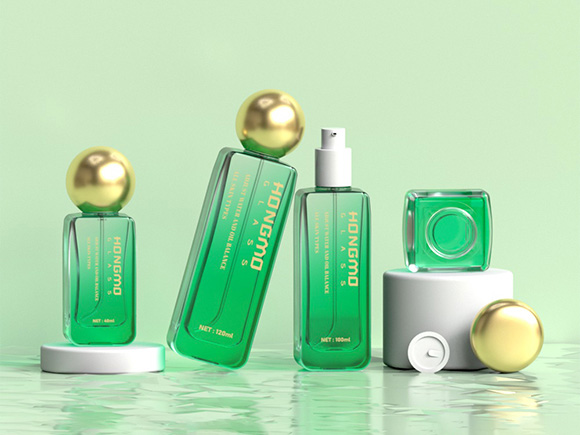
The glass itself plays a major role. We use High Flint Glass made from top-tier quartz sand. The result is an impurity-free, non-porous surface with crystal-like transparency. This smooth surface resists residue buildup and is far easier to clean and sanitize effectively compared to lower-grade, porous materials.
Finally, material safety is non-negotiable. Hongmo glass is fully compliant with REACH and RoHS standards, guaranteeing it’s free from harmful heavy metals. This ensures the container itself is safe and won’t leach unwanted substances into a formula, even before it undergoes its final sterilization process.
The Role of Packaging Quality in Contamination Prevention
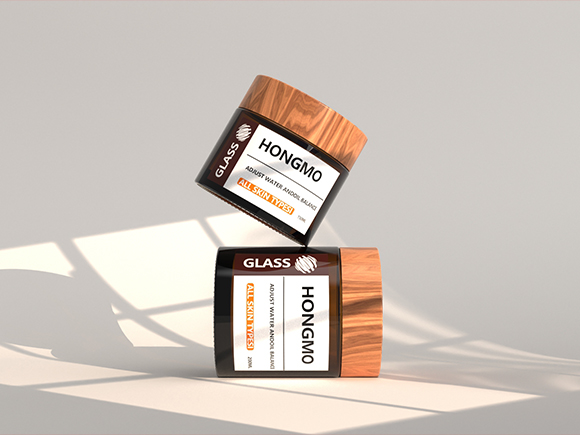
High-quality glass is the first line of defense. Its structural integrity and precision sealing create an airtight barrier, protecting product safety from factory to consumer.
Structural Integrity as the Primary Barrier
A glass container is only as good as its physical structure. The primary job of packaging is to serve as a secure barrier, and that starts with a defect-free container. Any physical flaws like cracks, microscopic fissures, or foreign particles embedded in the glass create a potential entry point for contaminants.
It’s determined by the entire manufacturing process, beginning with raw material sourcing. We use top-tier quartz sand to produce high-flint glass that is fundamentally free of impurities and bubbles. This clean foundation ensures the finished bottle has the strength to withstand the rigors of the supply chain without compromising the contents.
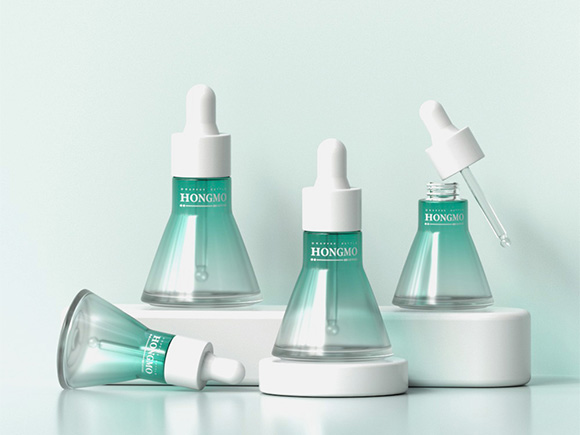
Advanced Sealing Through Precision Engineering
A perfect bottle is useless without a perfect seal. Contamination doesn’t just happen through breakage; it happens through poorly designed closures that allow for microscopic leakage or air exchange over time. This is a common failure point that many brands overlook.
Hongmoglass address this by engineering the bottle neck with minimal tolerance control. This precision ensures a 100% fit between the bottle and the pump or cap, creating a truly airtight system. To validate this, every design undergoes rigorous vacuum negative pressure and torque testing. The goal is a zero-leakage seal, a critical factor for products undergoing long-haul, cross-border transport where pressure and temperature changes are common.
Launch Custom Glass Packaging in 30 Days
Conclusion
While generic jars lower initial costs, a single production halt from thermal shock or a leaky seal erases those savings instantly. Our precision-engineered glass, validated by vacuum and torque testing, protects your product integrity from the filling line to the customer. This commitment to quality is the foundation of a reliable brand.
Don’t risk your formula on unverified packaging. We recommend starting with a trial order to test our material stability and flawless fit with your equipment. Contact our team to get samples on their way and discuss your OEM requirements.
Frequently Asked Questions
Can I use a dishwasher to sanitize glass jars?
Yes, a dishwasher is effective for cleaning jars. To maximize sanitization, use the highest heat setting with a heated dry cycle and do not add detergent. For food products that require full sterilization, like jams processed for under 10 minutes, you should still boil the jars after washing.
What is the difference between sanitizing and sterilizing?
Sanitizing significantly reduces the number of germs on a surface to a level considered safe. Sterilizing, on the other hand, eliminates all microorganisms completely. Sanitizing is common for food-contact surfaces, while sterilization is essential for medical instruments.
Does alcohol kill all bacteria on glass?
Alcohol is very effective against most types of bacteria, but it cannot kill bacterial spores. These hardy spores can survive alcohol-based cleaning. So, while alcohol is a good disinfectant, it does not achieve true sterilization.
How can I sanitize plastic parts like pumps without using heat?
For plastic parts sensitive to heat, you can use cold sterilization methods, such as soaking them in a sterilizing solution, or use a UV sterilizer. A dishwasher’s sanitize cycle also works well, as it uses hot water but does not reach boiling temperatures.
Should I wash new glass jars before using them?
Yes, you should always wash new glass jars. This removes any dust, debris, or manufacturing residues from the packaging and shipping process. A simple cleaning with soap and warm water makes sure they are hygienic and ready for use.
What does ‘Ready-to-Sterilize’ (RTS) packaging mean?
Ready-to-Sterilize (RTS) packaging components have been washed but are delivered unsterilized. This allows a business to receive clean components and apply its own validated sterilization process in-house before filling, which is common in pharmaceutical manufacturing.